DIY Tablet Case: Combining Style and Protection


Introduction to DIY Tablet Cases
Tablets have become an essential part of our daily lives, serving as both productivity tools and entertainment devices. However, protecting them is crucial. A tablet case not only safeguards your device but also adds a touch of personal style. Why settle for a generic case when you can create a unique one with your own hands? In this post, we'll explore how you can craft a stylish and protective DIY tablet case.

Choosing the Right Materials
The first step in creating a DIY tablet case is selecting the right materials. You want something that provides protection while also allowing for creativity. Consider using materials like felt, leather, or fabric. These options are not only durable but also offer a variety of colors and patterns to match your style.
When selecting materials, keep in mind the level of protection you need. For high-impact resistance, consider adding a layer of foam or padding inside the case. This will cushion your tablet against accidental drops and bumps.
Essential Tools for the Project
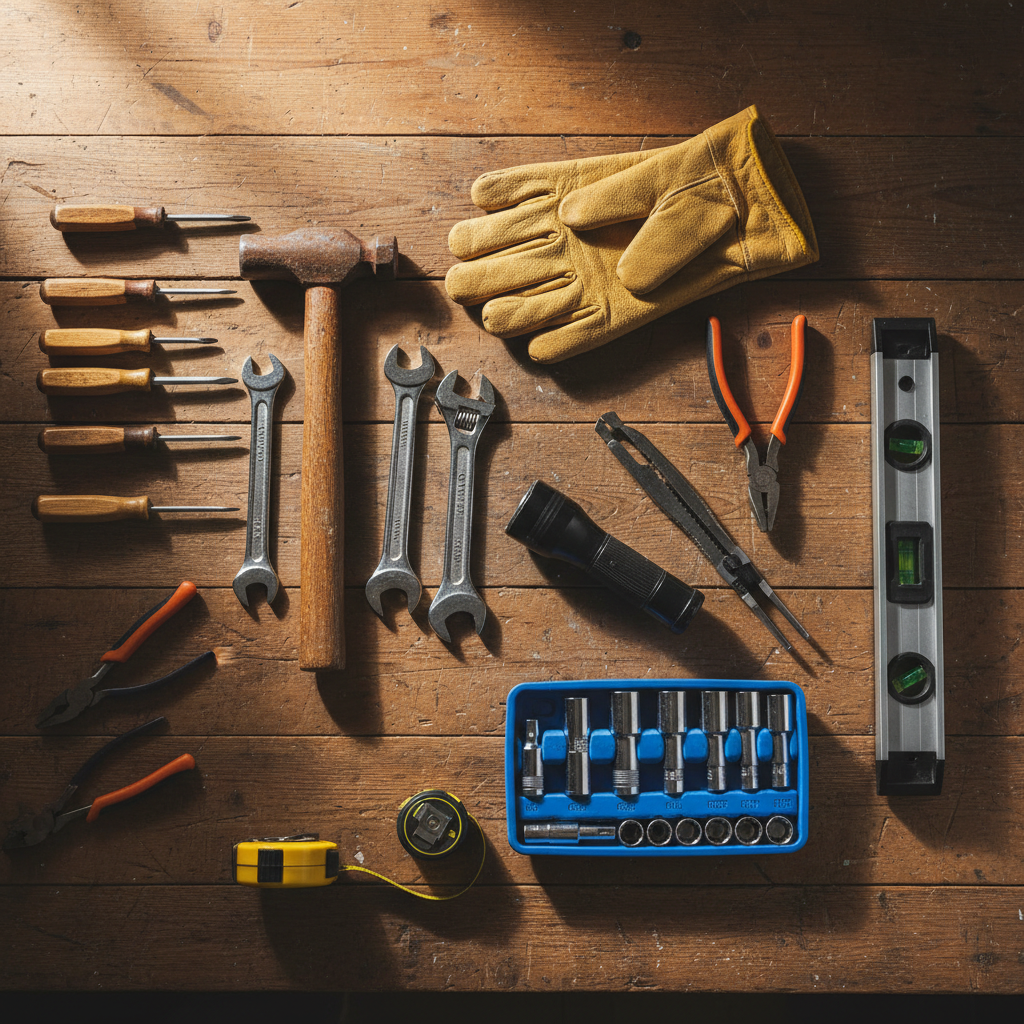
Before you start crafting, gather the necessary tools. Having the right tools will make the process smoother and more enjoyable. Here's a list of items you might need:
- Scissors
- Measuring tape
- Glue or sewing kit
- Ruler
- Decorative elements like buttons or embroidery
Designing Your Tablet Case
Once you've gathered your materials and tools, it's time to design your case. Consider the look you want to achieve. Do you prefer something sleek and professional, or fun and quirky? Sketch out your design on paper before you begin cutting materials. This step will help you visualize the final product and make any necessary adjustments beforehand.
Think about adding pockets or compartments to hold accessories such as chargers or earphones. This can increase the functionality of your case, making it not just a cover but an all-in-one carrying solution.
Assembling the Case
With your design ready, it's time to start assembling. If you're using fabric, cut out the pieces according to your tablet's dimensions, adding a little extra for seams. For leather or thicker materials, ensure you have the right tools to cut and stitch them together. Follow these steps to assemble your case:
- Cut the fabric or material to fit your tablet, leaving room for seams.
- If using padding, attach it to the inside material.
- Sew or glue the pieces together, ensuring a snug fit for your tablet.
- Add any decorative elements or pockets as per your design.
Personalizing Your Creation
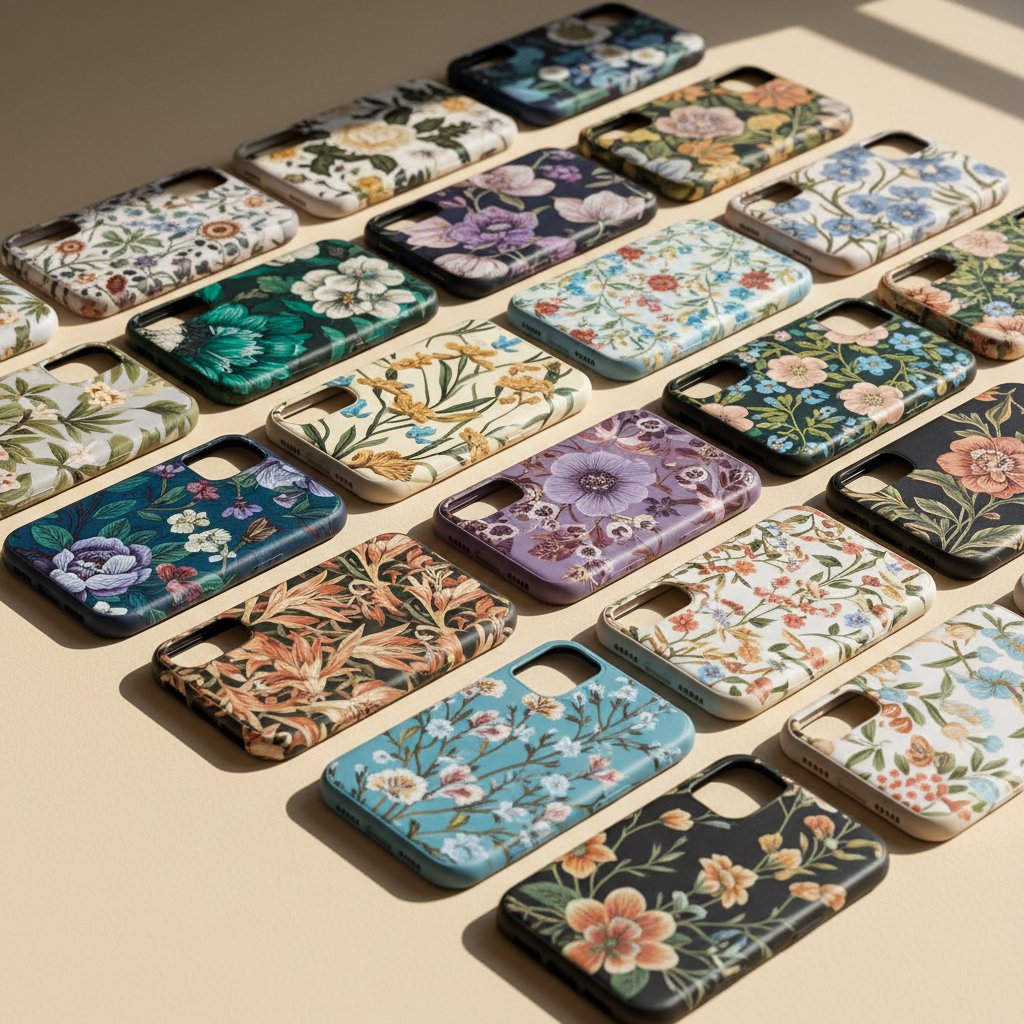
Personalization is the fun part of making a DIY tablet case. Use decorative elements to make your case stand out. Consider embroidery, fabric paint, or adding buttons and patches. This is your chance to express your personality and make a statement every time you use your tablet.
Don't be afraid to experiment with different styles. You can even create multiple cases for different occasions or moods. The possibilities are endless!
Maintenance and Care
After crafting your perfect tablet case, it's important to maintain it to ensure longevity. Regularly clean the exterior to keep it looking fresh. If your case is made of fabric, consider spot cleaning with a damp cloth. For leather cases, use appropriate leather cleaners to maintain its sheen and durability.
By taking care of your DIY creation, you ensure that it continues to protect your tablet while showcasing your unique style.
Conclusion
Creating a DIY tablet case is a rewarding project that combines functionality with personal expression. By choosing the right materials, designing thoughtfully, and adding personal touches, you can craft a case that not only protects your device but also reflects your style. Why wait? Start your DIY project today and enjoy a tablet case that's as unique as you are.