DIY Custom Phone Cases: Tips and Tricks for Personalizing Your Device


Why Customize Your Phone Case?
In today's world, our phones are practically extensions of ourselves. They accompany us everywhere we go, and a custom phone case is a perfect way to express our individual style. While there are plenty of pre-made cases available, a DIY custom phone case allows you to create something truly unique that reflects your personality.
Personalizing your phone case can also be a fun and rewarding project. Not only does it allow you to unleash your creativity, but it also results in a practical accessory that you can use every day. Whether you're looking to make a bold statement or prefer something subtle, the possibilities are endless.
Materials You'll Need
Before you start creating your custom phone case, it's important to gather all the necessary materials. Here's a list of basic supplies you'll need:
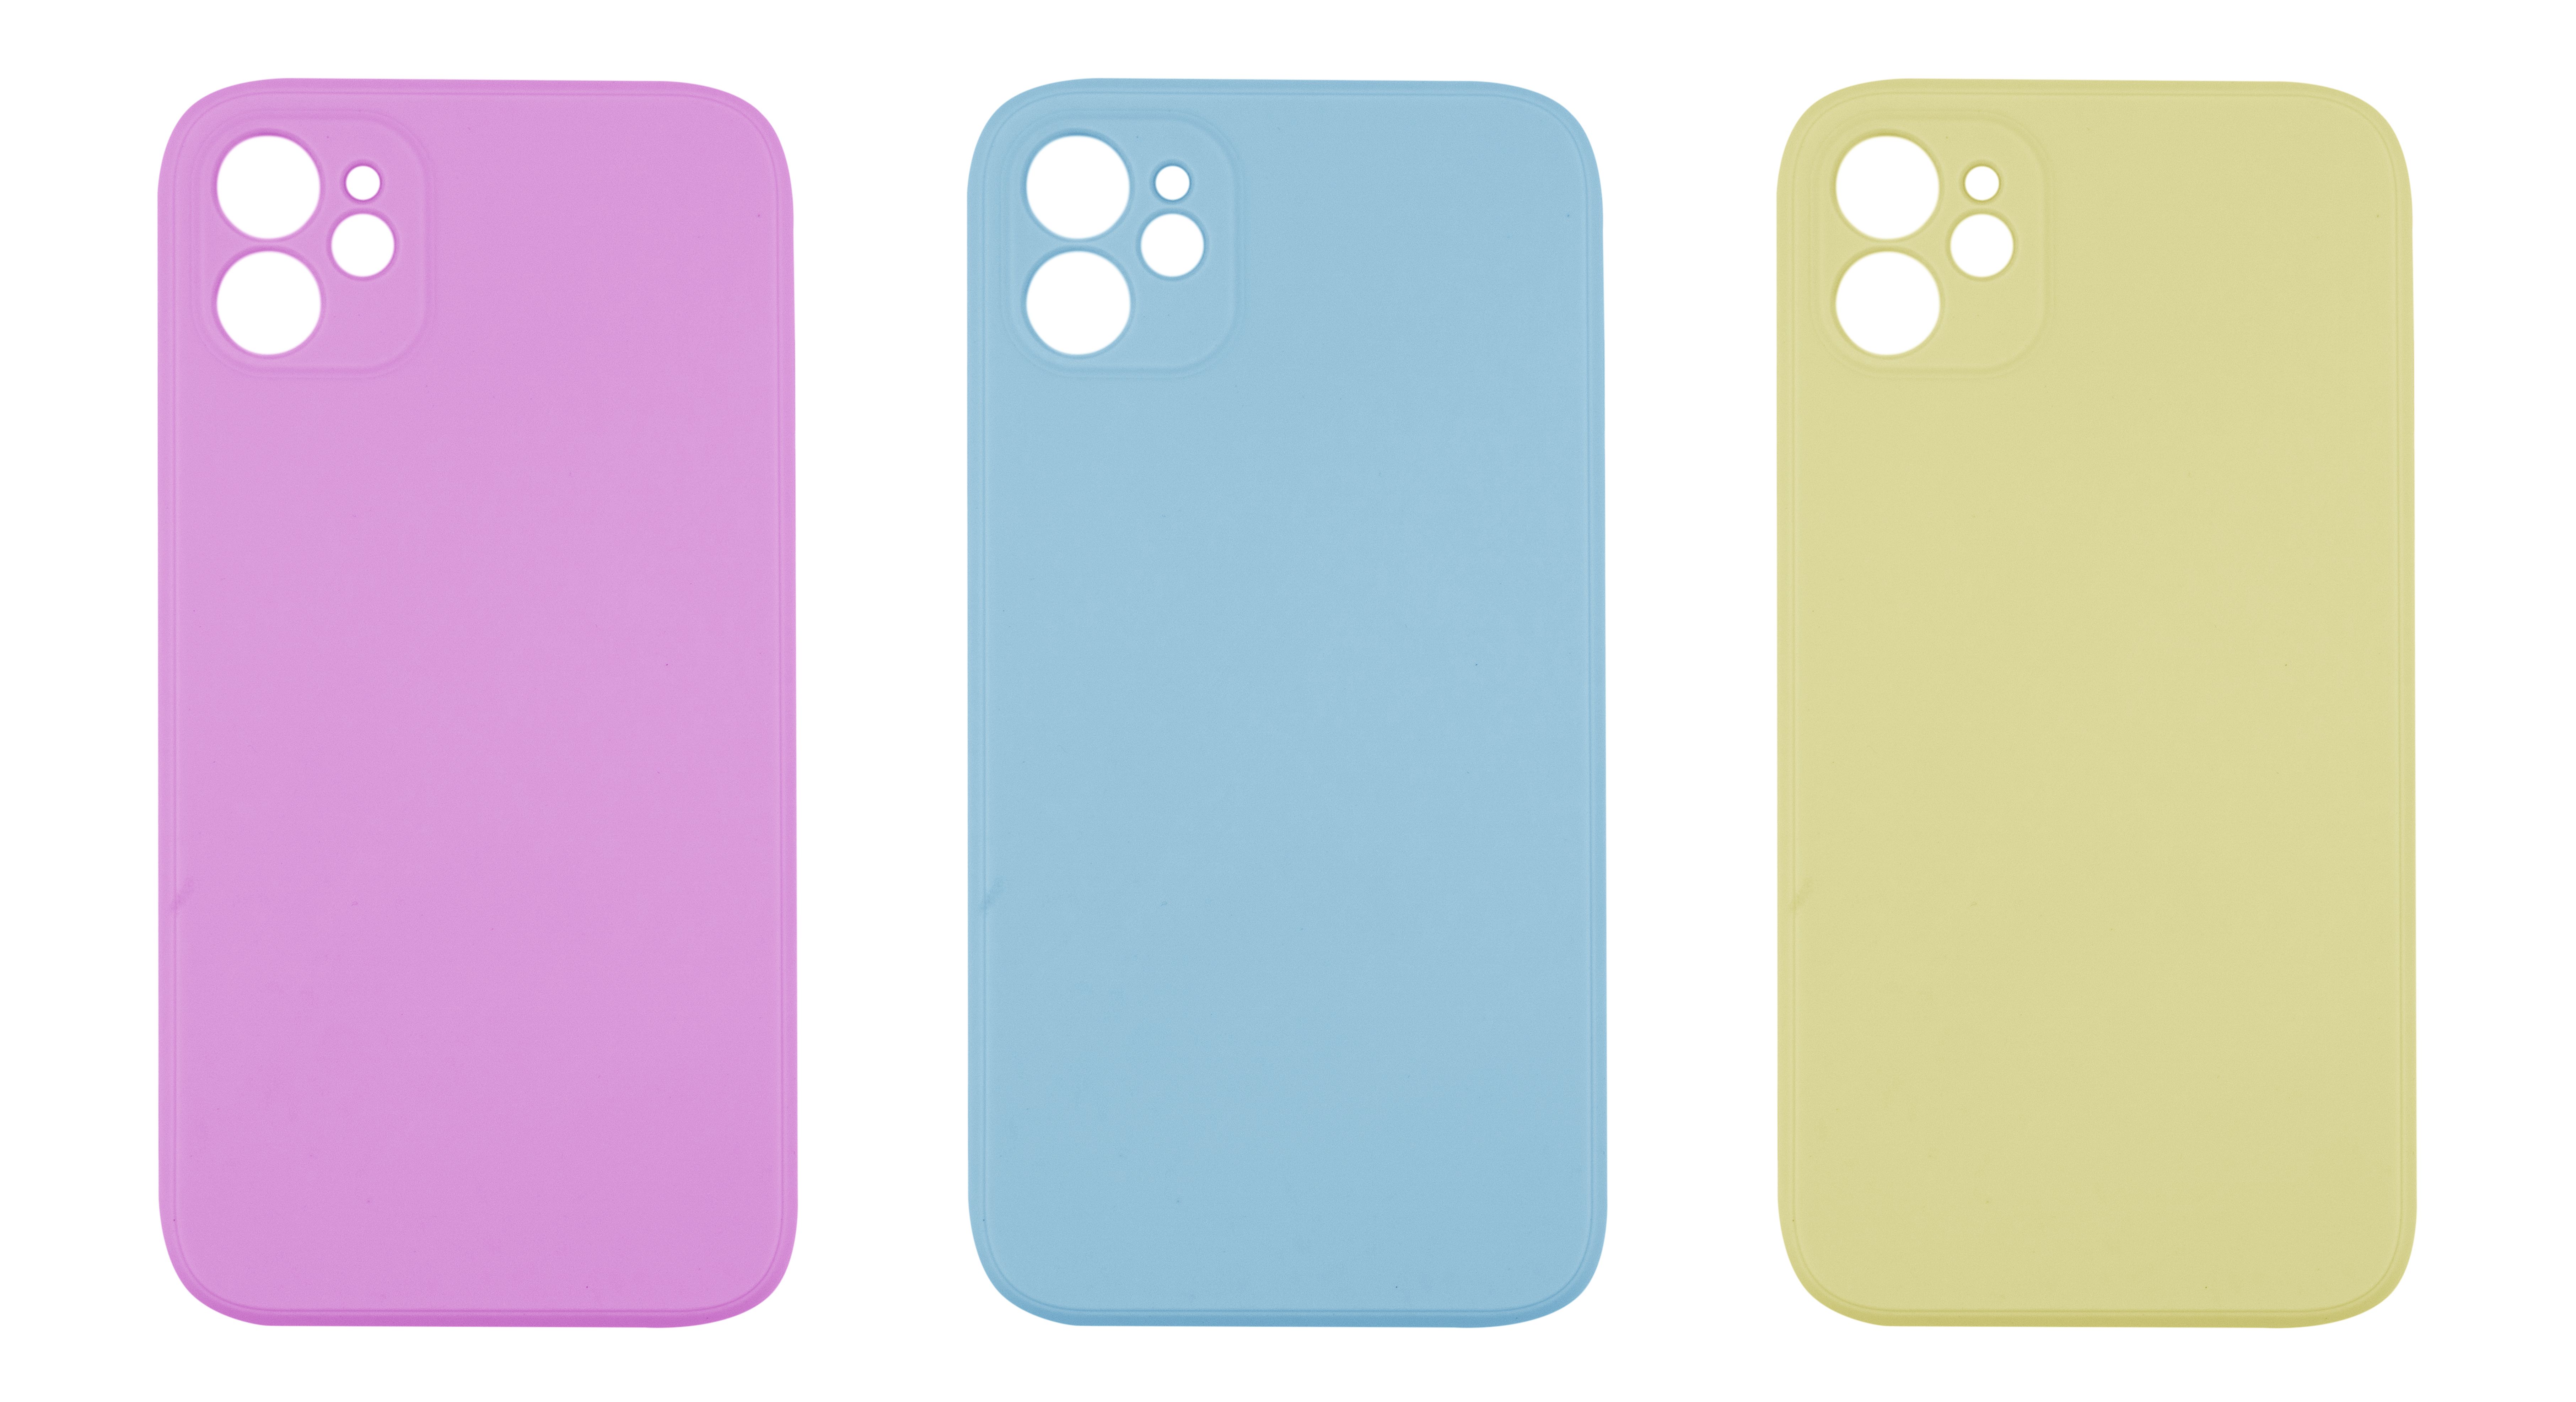
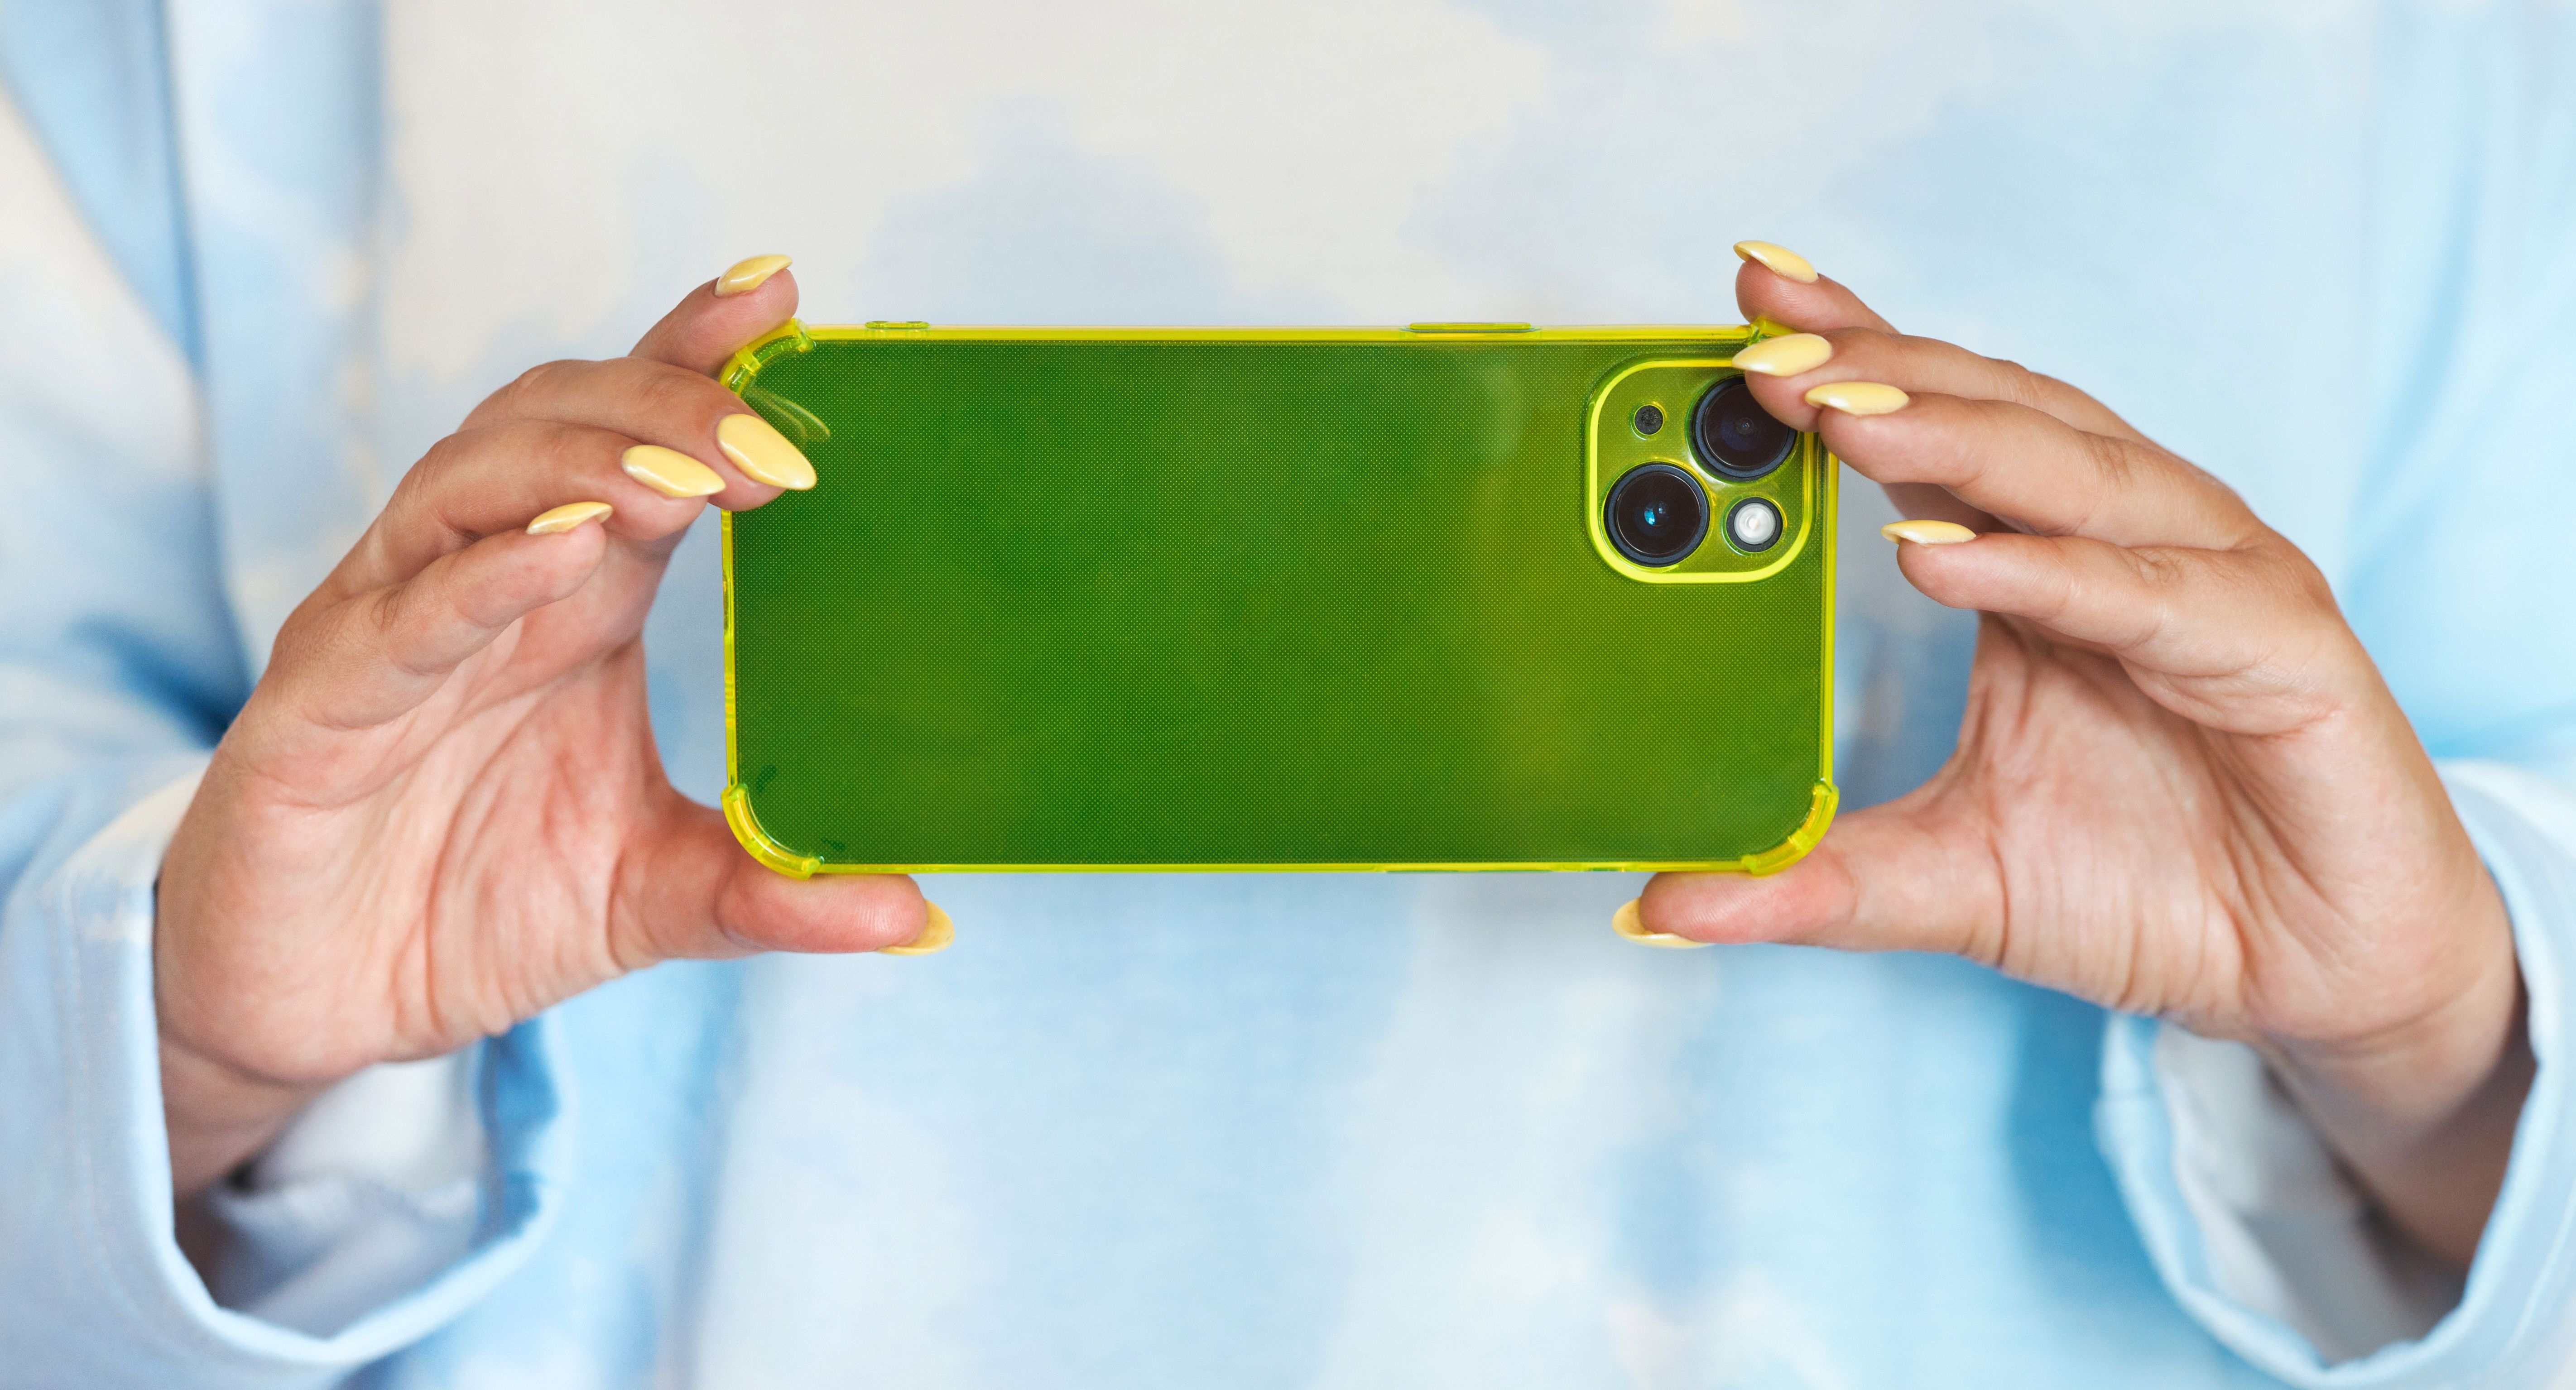
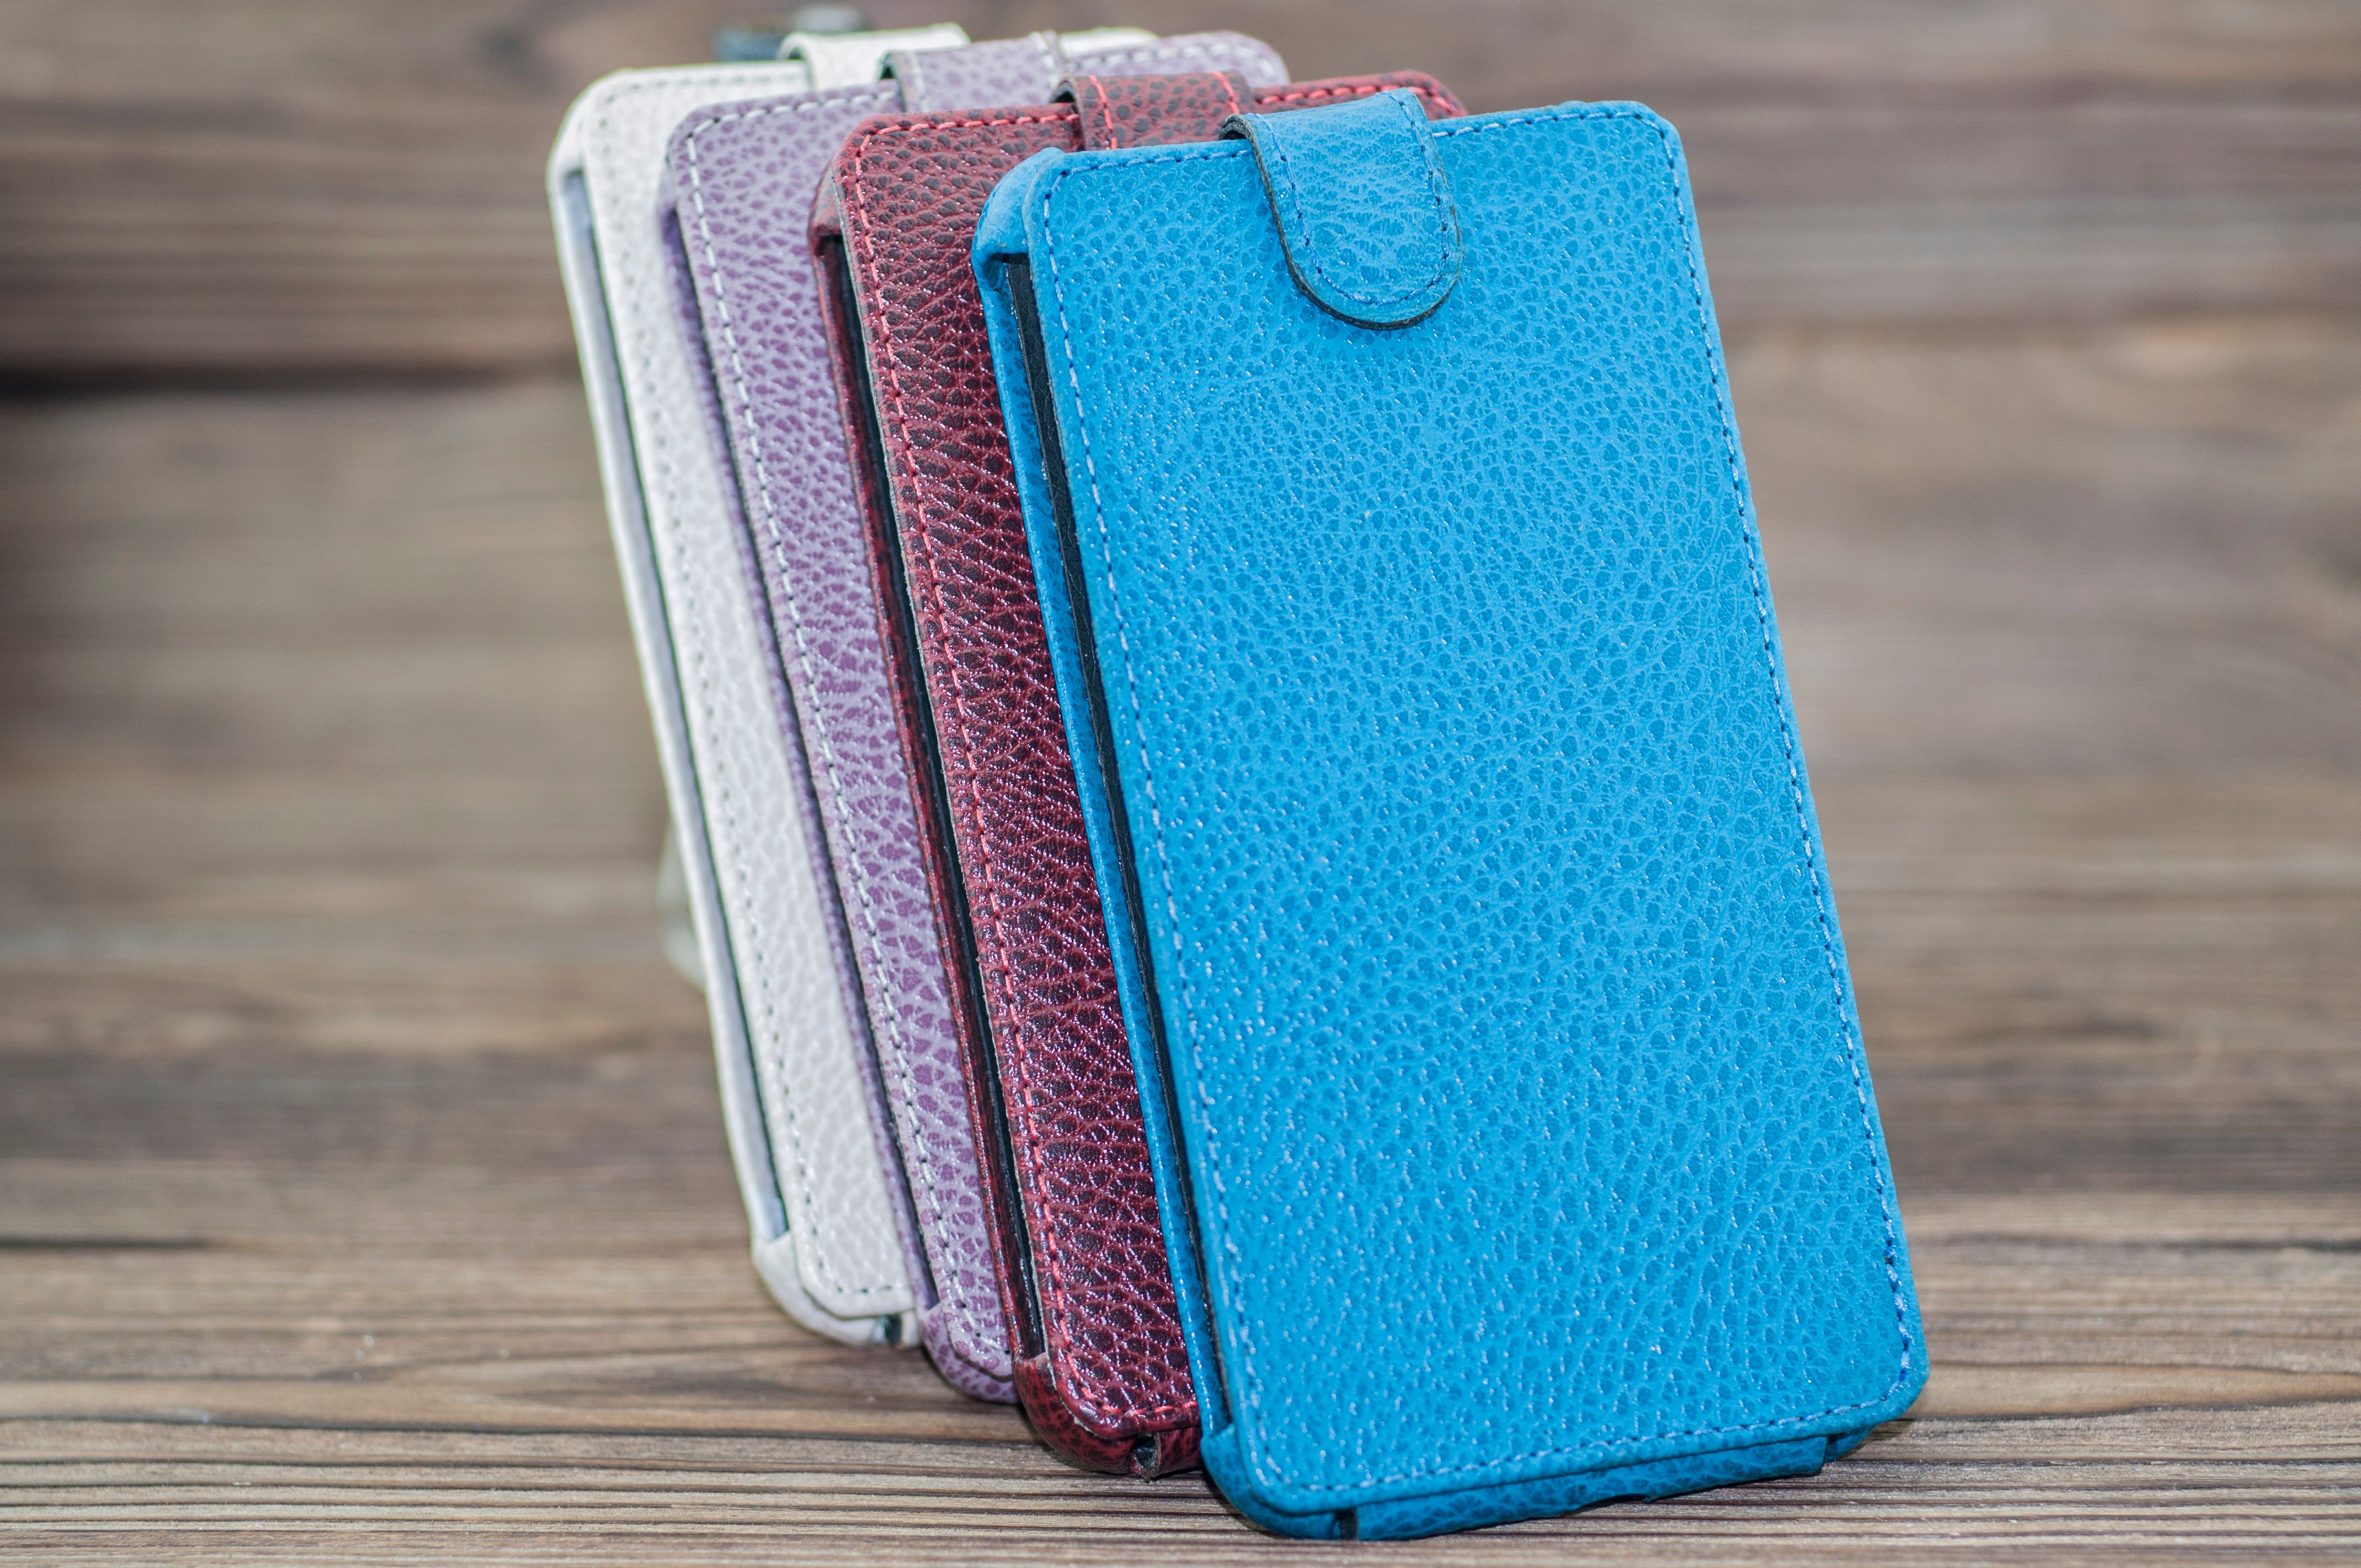
- Plain phone case: Choose a clear or solid-colored case as the base for your design.
- Acrylic paints or permanent markers: Ideal for adding color and details.
- Stencils or stickers: Perfect for adding shapes or intricate designs.
- Sealant spray: To protect your design and make it long-lasting.
- Craft glue: For attaching embellishments like gems or buttons.
Design Inspiration
The design possibilities for your custom phone case are endless, but here are a few ideas to get you started:
- Minimalistic designs: Use geometric shapes and neutral colors for a clean, modern look.
- Nature-inspired themes: Incorporate elements like leaves, flowers, or animals for an earthy vibe.
- Quotes and typography: Add your favorite quote or phrase to make a personal statement.
The DIY Process
Once you've gathered your materials and settled on a design, it's time to start creating. Follow these steps to bring your custom phone case to life:
- Plan your design: Sketch out your ideas on paper before transferring them to the case.
- Prepare the case: Clean it thoroughly to ensure paint and materials adhere properly.
- Create your design: Use paints, markers, or stencils to bring your vision to life. Be patient and let each layer dry before adding another.
- Add embellishments: If desired, glue on any additional decorations like gems or buttons.
- Seal your work: Once dry, apply a sealant spray to protect the design from scratches and wear.
Troubleshooting Tips
If you encounter any issues during the DIY process, don't worry! Here are some common problems and how to solve them:
- Paint smudging: Allow each layer to dry completely before adding another to prevent smudging.
- Uneven designs: Use stencils or masking tape to create clean lines and shapes.
- Poor adhesion of decorations: Ensure surfaces are clean and use strong craft glue for secure attachment.
Caring for Your Custom Phone Case
Once you've completed your DIY project, it's essential to take care of your custom phone case to ensure its longevity. Here are some tips for maintaining your case:
- Avoid exposure to water or extreme temperatures: These can damage both the case and the design.
- Clean gently: Use a soft cloth to wipe away dirt or smudges without scratching the surface.
- Reapply sealant if needed: Over time, you may need to reapply sealant to keep your design protected.
Conclusion
Creating a DIY custom phone case is not only an enjoyable project but also a fantastic way to personalize one of your most-used possessions. With some creativity and the right materials, you can craft a case that is uniquely yours. So go ahead, gather your supplies, and start designing a phone case that speaks to you!